10 GEOVIA Surpac Plotting Tips & Tricks 1-5
by Froiland Timpoc, EM
These are quick and simple 10 GEOVIA Surpac Plotting Tips & Tricks. We also incorporated some common questions or queries from our clients that are important to others. Let’s start!
Plotting Tip and Trick #1 MAP SCALE (e.g. 1:100)
Tired of placing NIS or not in scale on your maps? Need to create a map of 1:1000? Here’s the trick!
Solution:
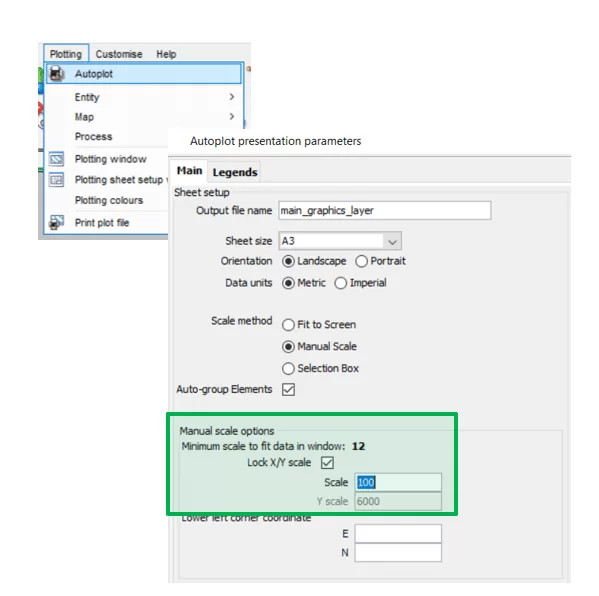
Using Autoplot:
Plotting -> Autoplot then Select Manual Scale. On Manual scale options section, tick Lock X/Y scale, then input the desired scale to be used (e.g. type in 100 to create 1:100 plot)
Solution:
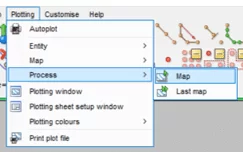
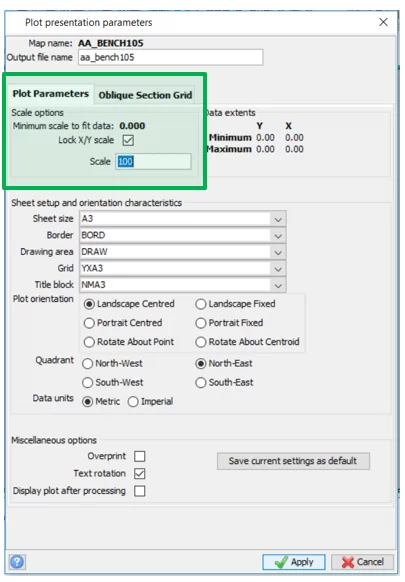
Using File-based Plotting:
After defining entities and map, process and select the map to be processed, under Plot Parameters, check Lock X/Y Scale and input the desired scale.
Plotting Tip & Trick #2: CRASHING/FREEZING
The second trick would be, the solution for crashing and/or freezing. Have you been experiencing Crashing and/or freezing of Surpac while Plotting? You already tried running the software in compatibility mode and with administrative privileges? Here’s a tip!
Solution:
Customize -> Default preferences -> Graphics -> Hardware settings -> External display driver -> SAFEST
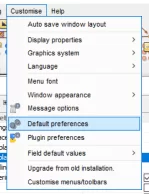
Click Apply. Restart GEOVIA Surpac to apply changes.
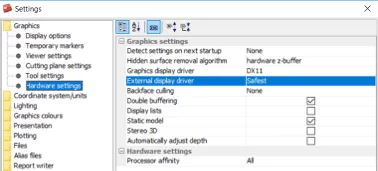
Setting the external display driver to safest forces the external application window to use the software driver, thus becoming more stable.
Plotting Tip & Trick #3: MULTIPLE SECTION PLOT
Having the need of displaying multiple plots on one sheet?
Solution
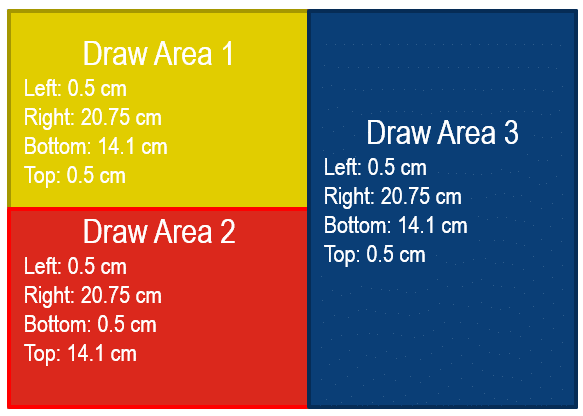
- Create drawing areas for the various parts of the map
- Plot each file on the defined drawing areas
- Append the produced plots to create the final map
- A3_ADJ (A3): 41.5 x 28.2 cm
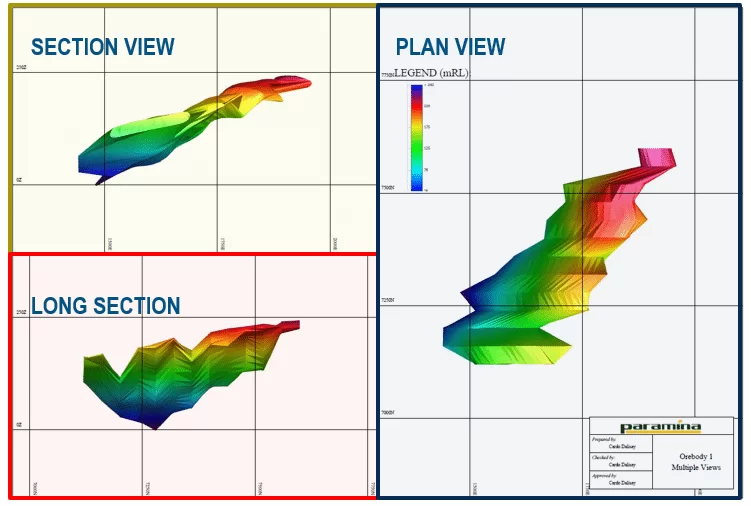
SAMPLE MULTIPLE SECTION PLOT: (Scale of 1:4000)
Plotting Tip & Trick #4: PLOT SHEET SETUP
Wanna use the previously created title blocks, drawing areas, borders, and grids?
Solution
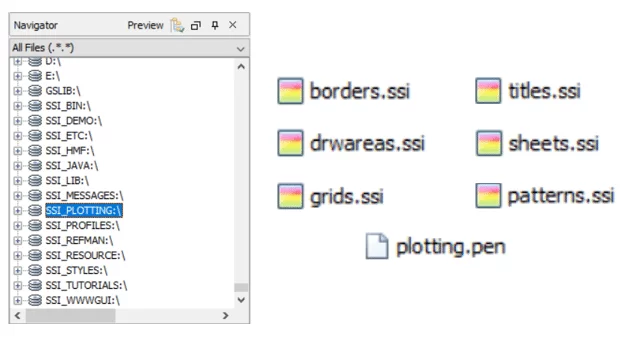
- Create a folder for plotting files
- Copy necessary plotting files
- (e.g. borders.ssi, etc.) from the plotting logical, SSI_PLOTTING:\ or C:\users\public\geovia\surpac\69_x64\share\plotting)
Solution
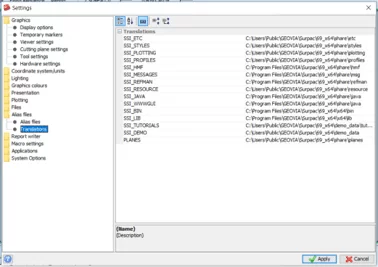
- Go to Customise -> Default preferences -> Alias Files -> Translations
- Under SSI_PLOTTING tab, map the newly created plotting folder
- Click Apply and Restart Surpac.
Plotting Tips & Tricks #5: PLOT PRINT OFFSET
Annoyed with the offset present upon printing of plot files?
Solution
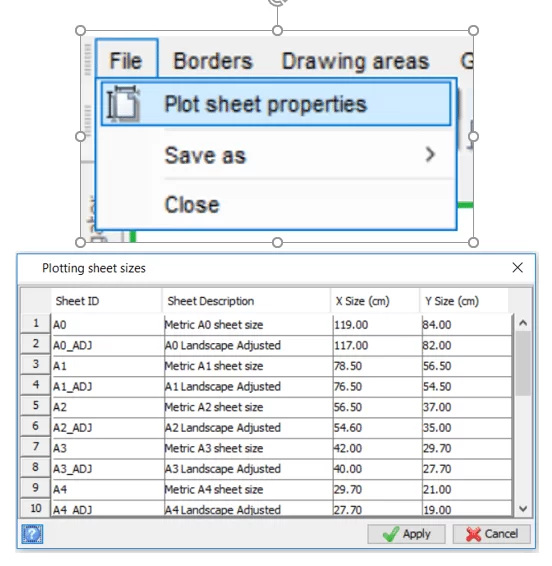
- Open Surpac, go to Plotting -> Plot sheet setup window
- On Plot sheet setup window, go to File -> Plot sheet properties
- Add/Insert a row for the adjusted sheet size
- Copy the sheet sizes then decrease the sizes of the sheets by ~1.5cm on BOTH X and Y Sizes
10 GEOVIA Surpac Plotting Tips & Tricks continue…